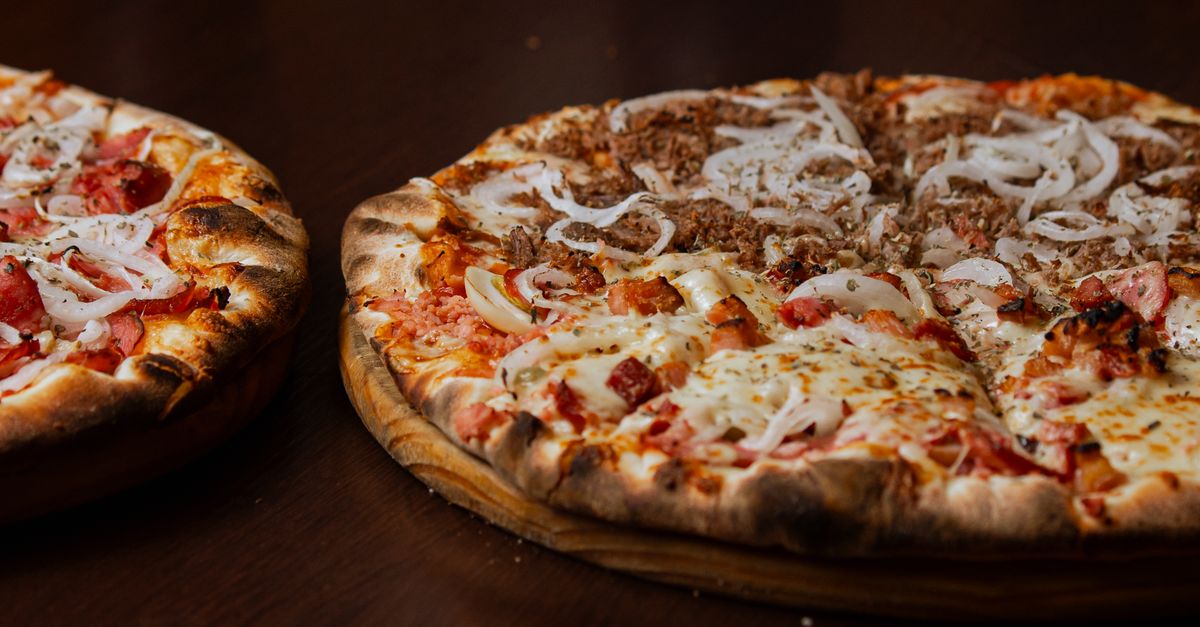
The Crispy-Crust Illusion: Why Your Homemade Pizza Doesn't Have That Perfect Chew
Every Friday, my family gathers around for pizza night. For years, I chased that elusive pizzeria-quality crust at home—crispy on the outside, but with a satisfying, almost elastic chew on the inside. My pizzas were always… fine. Edible, certainly, but never quite right. They’d often be too brittle, too dense, or just plain bland. I’d follow recipes to the letter, knead until my arms ached, and still, the result was a shadow of my pizzeria dreams. The mistake I see most often, and one I made myself for far too long, is assuming that the ingredients themselves are the sole determinant of texture. What changed everything for me wasn’t a secret ingredient or a fancy flour, but a deeper understanding of dough mechanics and, crucially, how time and temperature interact.
Key Takeaways
- The right flour, specifically high-protein bread flour, is foundational for developing gluten and achieving chewiness.
- Proper hydration, around 65-70%, is essential for a pliable dough that can develop chew and a good crumb.
- Long, cold fermentation in the refrigerator significantly enhances both flavor and the desirable chewy texture.
- High oven temperatures combined with a preheated pizza steel or stone create the necessary thermal shock for a crispy exterior and chewy interior.
High-Protein Flour Isn’t Optional; It’s Foundational
For years, I bought whatever all-purpose flour was on sale, thinking ‘flour is flour.’ This was my first major misstep. The protein content in flour directly correlates to its gluten-forming potential, and gluten is what gives pizza dough its strength, elasticity, and that signature chew. All-purpose flour typically has a protein content of 10-12%, which is okay for many baked goods, but insufficient for a truly chewy pizza crust. What you need is high-protein bread flour, which clocks in at 12-14% protein. Some dedicated pizza flours, like ‘00’ flour, are fantastic for specific Neapolitan-style pizzas, but for a classic, chewy American-style crust, bread flour is your best friend.
In my experience, switching from all-purpose to a good quality bread flour was like upgrading from a tricycle to a sports car. The dough immediately felt different—more resilient, easier to stretch without tearing, and with a noticeable bounce-back. This higher protein content allows for the development of strong gluten strands, which, when properly worked, create a web that traps gasses and gives the dough structure and that delightful chew. Don’t skimp on this; it’s the bedrock of your perfect crust.
Nail Hydration for a Supple, Workable Dough
Another common misconception I held was that a stiffer dough would be easier to handle and lead to a crispier crust. The opposite is often true for chew. Hydration, or the ratio of water to flour, is critical for dough texture. A dough that’s too dry will be stiff, hard to knead, and will yield a dense, cracker-like crust. A highly hydrated dough, usually between 65% and 70% hydration, is stickier and a bit more challenging to handle initially, but it develops far better gluten and creates a lighter, airier, and chewier crumb. Calculating hydration is simple: if you use 500 grams of flour, 65% hydration means 325 grams of water (500g * 0.65).
The difference is profound. My earlier, lower-hydration doughs felt dead; they resisted stretching and would tear if pushed too far. With higher hydration, the dough becomes alive. It’s still a bit sticky, but with practice and a light dusting of flour, it becomes incredibly pliable. This extra water allows the gluten network to fully expand, creating those desirable air pockets and the perfect balance of crispness on the outside and chewiness within. Aim for that 65-70% range, adjusting slightly based on your specific flour and environment.
Embrace the Cold: The Magic of Long Fermentation
If there’s one secret weapon in my pizza-making arsenal, it’s long, cold fermentation. This is where true flavor and complex texture develop. Most quick pizza recipes call for a 1-2 hour rise at room temperature. While this will make the dough rise, it simply doesn’t allow enough time for enzymes to break down starches into sugars, which contributes to flavor, and for the gluten structure to fully relax and strengthen. A cold fermentation, where the dough rests in the refrigerator for 24 to 72 hours, works wonders.
I used to rush this step, thinking it was just about getting the dough to double in size. What I learned is that the cold slows down the yeast activity, allowing beneficial bacteria to produce lactic and acetic acids. These acids are the magic behind the depth of flavor you find in artisanal bread and, crucially, contribute immensely to the dough’s extensibility and chewiness. My 24-hour cold-fermented dough transforms into something truly special: it’s easier to stretch, has more complex flavor, and yields a crust with significantly more chew. Plan ahead; this step is a game-changer.
Maximize Oven Heat with a Pizza Steel or Stone
Even with a perfectly hydrated, cold-fermented dough, your pizza won’t achieve that ideal chew and crispness without intense, direct heat. A conventional home oven, typically maxing out at 500-550°F (260-290°C), struggles to replicate the blistering temperatures of a commercial pizza oven. Simply baking on a sheet pan won’t cut it. The crucial element here is thermal mass: you need a preheated pizza steel or stone that retains a tremendous amount of heat. This creates what’s known as ‘oven spring’—a rapid burst of rise from the dough as it hits the super-hot surface, leading to a perfectly airy and chewy interior and a beautifully crisp, blistered exterior.
I spent too many years baking pizzas on a flimsy baking sheet, resulting in pale, anemic crusts. Investing in a pizza steel was perhaps the single most impactful equipment upgrade I made. I preheat my oven to its maximum temperature, with the steel inside, for at least an hour. When the pizza slides onto that screaming hot surface, you can literally hear it sizzle and see the crust begin to puff almost instantly. This rapid heat transfer is essential for achieving that dream combination of crispy, golden exterior and soft, chewy interior. A pizza stone is a good alternative, but a steel generally transfers heat more efficiently.
Kneading and Stretching: Develop, Don’t Destroy
Once you have the right flour, hydration, and fermentation, the way you handle the dough is the final piece of the puzzle. Over-kneading can lead to a tough crust, while under-kneading won’t develop enough gluten for chewiness. Aim for a dough that passes the windowpane test: you should be able to stretch a small piece thin enough to see light through it without tearing. This indicates well-developed gluten.
When it comes to stretching, resist the urge to use a rolling pin. A rolling pin pushes out all the beautiful gas bubbles developed during fermentation, leading to a dense crust. Instead, gently work the dough from the center outwards, using your fingers and the weight of the dough itself. My technique involves starting with a lightly floured surface, pressing down the center, and then lifting and rotating the dough on my knuckles, letting gravity do some of the work. This preserves those crucial air pockets and results in an open, airy crumb that’s incredibly chewy. Practice makes perfect here, but the goal is always gentle elongation, not aggressive flattening.
Frequently Asked Questions
What type of flour is best for chewy pizza crust?
High-protein bread flour is ideal for developing strong gluten, which gives pizza crust its characteristic chewiness and elasticity. Look for a protein content of 12-14%.
How much water should I use for pizza dough to get a chewy texture?
Aim for a hydration level between 65% and 70%. This means for every 100 grams of flour, use 65-70 grams of water. This higher hydration creates a more pliable dough that develops better gluten and a lighter, chewier crumb.
Can I make chewy pizza crust without a pizza stone or steel?
While a pizza steel or stone is highly recommended for optimal results, you can get a decent crust by preheating a heavy baking sheet or an inverted cast iron pan in your oven at its highest temperature for at least 30-45 minutes before baking. The key is maximizing thermal mass.
How long should I ferment pizza dough for best chewiness and flavor?
For superior chew and flavor development, I strongly recommend a cold fermentation in the refrigerator for 24 to 72 hours. This slow rise allows enzymes to enhance flavor and gluten to fully develop, resulting in a more extensible, flavorful, and chewy dough.
Does kneading technique affect how chewy the pizza crust will be?
Absolutely. Proper kneading develops the gluten network, which is essential for chewiness. Knead until the dough passes the ‘windowpane test.’ When stretching, avoid using a rolling pin, as it degasses the dough. Instead, gently stretch by hand to preserve air pockets and ensure an airy, chewy crumb.
Achieving that perfect, chewy pizza crust at home isn’t about one magic step, but rather a deliberate interplay of ingredients, time, and technique. By focusing on high-protein flour, proper hydration, extended cold fermentation, high heat from a pizza steel, and gentle handling, you’ll elevate your homemade pizza nights from ‘fine’ to ‘fantastic.’ Start by upgrading your flour and embracing the cold fermentation. You’ll taste the difference, and your family will thank you for it.
Written by Maya Singh
Home organization and productivity
A former librarian and efficiency expert, Maya excels at curating information into streamlined, actionable advice.
You Might Also Like

7 Non-Obvious Reasons Your Home Always Feels Stuffy (Even with Windows Open)
Discover the overlooked culprits behind a stuffy home, even with open windows. Liam O'Connell shares 7 non-obvious fixes for lasting fresh air.

A Practical Checklist for Choosing a Home Security System That Actually Works
Choosing a home security system? This checklist goes beyond marketing hype to reveal what truly protects your home and avoids common pitfalls.

A Beginner's Guide to Private DNS for Enhanced Browsing Privacy
Unlock better online privacy with a beginner's guide to private DNS. Learn what it is, how it works, and how to set it up for a more secure browsing experience.